
How to set your phone language to English
Navigating your device becomes much simpler when you understand every menu and option. Whether you’re using an iPhone or Android, adjusting your display preferences to English can help you use apps, manage features, and explore settings with confidence. This guide breaks down the process into easy steps that work for most modern devices.
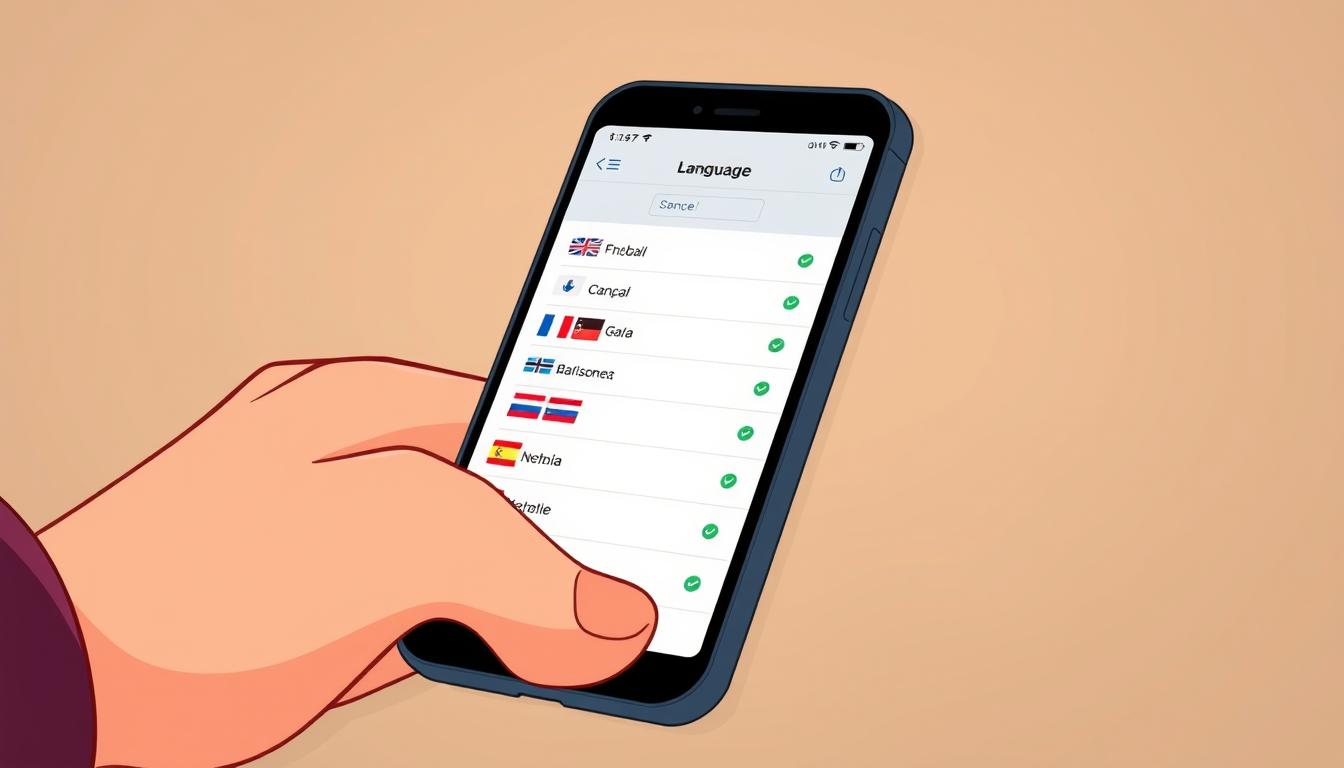
You’ll start by accessing the main settings menu, which is usually represented by a gear icon. From there, look for the section labeled “Language & Input” or “General Management.” Selecting English from the list applies the change instantly across your device, though some apps may require a restart to update fully.
No technical expertise is needed—this adjustment takes just a minute. Once completed, menus, notifications, and default apps will appear in English. We’ll also explain how to reverse the change if needed, ensuring you stay in control of your experience.
Key Takeaways
- Access language options through your device’s settings menu
- Both iPhone and Android models follow similar adjustment steps
- Changes apply immediately to most system features
- Some third-party apps may need manual updates
- Always confirm selections before exiting settings
Understanding Senior-Friendly Smartphone Features
Modern devices include thoughtful tools that prioritize simplicity without sacrificing capability. Many models now offer easy mode, which streamlines the home screen to highlight essential apps like calls, messages, and photos. This removes clutter and creates a cleaner layout for stress-free navigation.
Built-in adjustments let you customize text size, button spacing, and sound clarity. Bold fonts and high-contrast displays make reading effortless, while amplified ringtones ensure you never miss alerts. These changes adapt your device to match your preferences, not the other way around.
Simplified menus guide you through settings step-by-step, avoiding confusing technical terms. Features like one-tap emergency contacts or medication reminders add practical value. With these tools, your device becomes a reliable helper for everyday tasks.
Discovering these options takes just minutes. Once activated, they stay consistent across updates, giving you confidence to explore more advanced functions at your own pace. It’s all about making technology work for you.
Why Accessibility is Key for Your Loved Ones
Technology should strengthen connections, not create hurdles. For those who value independence, thoughtful accessibility features transform devices into reliable companions. They ensure every individual can interact with their tools comfortably, regardless of vision, hearing, or mobility differences.
Customizable displays and voice-guided menus empower users to navigate apps confidently. High-contrast screens reduce eye strain, while adjustable text sizes let readers focus on content instead of squinting. These tools bridge gaps between complex interfaces and real-world needs.
Family members play a crucial role in tailoring devices. By enabling simplified layouts or one-tap shortcuts, you help loved ones stay engaged with their communities. It’s about preserving autonomy—whether sending messages, checking news, or managing health reminders.
Prioritizing accessibility doesn’t just solve immediate challenges. It fosters long-term confidence in using technology. When devices adapt to people rather than demanding adaptation, daily interactions become smoother and more meaningful.
Getting Started with a User-Centered Setup
Customizing a device starts with understanding its user. Discuss what matters most—staying connected, accessing help quickly, or enjoying photos and music. This conversation shapes which tools to highlight and which to simplify.
Involve the individual in choosing their preferred home screen layout. Large icons for favorite apps and clear labels reduce confusion. Disable rarely used features to create a clutter-free experience that matches daily habits.
The process works best when you adjust settings together. Increase text size during setup if reading feels challenging. Test button responsiveness to ensure comfortable navigation. These tweaks make the device feel like a natural extension of the user’s routine.
Spending time upfront prevents frustration later. Activate easy mode if available—it streamlines menus and prioritizes essential functions. Confirm each change together, building confidence in the new setup.
Focus on flexibility. Options can evolve as skills grow, ensuring the device adapts to changing needs. A thoughtful start creates lasting comfort with technology.
Assistive Access on iOS: A Simplified Process
Apple’s iOS includes a powerful tool to reduce screen complexity while keeping core functions accessible. Assistive Access creates a focused environment that highlights essential apps like Messages, Camera, and FaceTime. This streamlined approach helps users concentrate on what matters most without unnecessary distractions.
Locating the Assistive Access Setting
Open your iPhone and tap the Settings app. Navigate to “Accessibility” and select “Assistive Access” near the bottom of the menu. Tap “Set Up Assistive Access” to begin the process. You’ll link your Apple ID here to ensure secure activation.
Configuring Options for Easier Use
Choose between two layouts during setup. The Rows option displays app names in bold text with simplified icons. Grid mode offers larger buttons resembling the standard home screen. Select only frequently used apps—those left out won’t appear in this mode.
Set a passcode to enter or exit Assistive Access. Press the side button three times anytime to toggle between modes. This security layer prevents accidental changes while maintaining full control for caregivers.
Basic Mode on Android: Simplified Settings for Seniors
Streamlined interfaces make Android devices more approachable for users seeking simplicity. Many manufacturers build intuitive tools directly into their settings, letting you transform the home screen into a clean, easy-to-navigate space. These adjustments focus on enlarging key elements while minimizing distractions.
Activating Easy Mode Across Devices
Samsung’s Easy Mode shines as a standout feature. Open your device’s settings, tap “Display,” then select “Easy Mode” to activate it. This instantly expands icons and text while removing less-used widgets. Other Android brands like LG or Motorola often place similar options under “Accessibility” or “Display” menus.
Once enabled, your screen shows only essential apps in large tiles. Calls, messages, and emergency contacts take priority. You can still access other features through a simplified app drawer if needed.
Customizing Visual Elements
Fine-tune readability by adjusting font size separately from Easy Mode. Navigate to “Display” settings and choose “Font size and style.” Drag the slider rightward to enlarge text. Enable bold formatting here for extra clarity.
Accidental touch protection adds another layer of usability. Find this toggle in “Display” settings to prevent unintended taps. For security, activate Auto Blocker under “Security and Privacy” to block suspicious app installations.
These changes work together to create a comfortable experience. Larger buttons and clear labels help users interact confidently without straining their eyes or patience.
Tips to Enhance Display and Readability
Clear visibility transforms how you interact with your device daily. Start by adjusting text size in your settings—larger letters reduce squinting without distorting layouts. Pair this with bold formatting for sharper edges on characters.
High contrast modes deepen color differences between backgrounds and letters. This makes words pop, especially in bright environments. Combine this with auto-brightness to keep your screen comfortable in changing light.
Dynamic text sizing adapts to different apps automatically. Test various combinations—some fonts work better at larger sizes than others. Warm color filters can also reduce eye strain during evening use.
Organize your screen by grouping essential apps together. Reduce visual clutter through simplified widgets and minimal notifications. These changes create a focused viewing experience that matches your habits.
Remember: optimal display settings vary by person and situation. Outdoor sunlight might need maximum brightness, while dim rooms benefit from night mode. Regular tweaks ensure your device stays easy on the eyes.
Optimizing Accessibility Settings on Your Device
Your device holds powerful tools to make every interaction clearer and more comfortable. These features adapt to your vision needs while maintaining full functionality. Let’s explore how to transform your screen into a space that works for your eyes.
Enabling Larger Text and High Contrast Display
Start by opening your Accessibility menu in system settings. On Android, select “Magnification” to activate screen zooming. For iOS users, “Zoom” offers similar functionality with triple-tap gestures.
High contrast modes boost readability dramatically. Android devices provide “Color Inversion” options under Accessibility. iPhone users can enable “Increase Contrast” in Display & Text Size settings. Both methods sharpen text edges against backgrounds.
Adjust text size independently for apps and menus. Increase letter spacing or bold fonts for extra clarity. These changes apply system-wide, ensuring consistency across messages, emails, and web pages.
Test different combinations to find your ideal setup. Pair larger text with warm screen filters for evening use. Remember: these tools evolve with updates, so revisit them periodically for new improvements.
set phone language seniors: Tailoring Language Settings for Ease of Use
Adjusting your device’s display text can significantly improve usability for older adults. This modification reaches beyond menus—it transforms voice assistants, keyboard predictions, and app labels. Knowing where these adjustments live in your settings menu ensures smooth transitions between languages.
Locate the language section under “System” or “General Management” depending on your device. Selecting English here updates emergency alerts and accessibility guides instantly. Be prepared: some apps like weather or news may retain previous language defaults until manually adjusted.
Timing matters. Coordinate changes when the user feels most confident exploring their device. Pair this shift with visual adjustments like larger icons to maintain familiarity. System-wide changes feel less abrupt when paired with consistent layout elements.
Third-party apps often have separate language toggles. Check messaging platforms and health trackers individually after the main update. Keep a screenshot guide of key menus in both languages for quick reference during the transition period.
Remember—reversing the process follows the same steps. Regular practice with the new setup builds confidence. These thoughtful tweaks create a supportive digital environment that respects individual preferences while maintaining functionality.
Adjusting Font Size and Icon Display to Fit Your Needs
Personalizing your screen’s appearance creates a stress-free viewing experience. Start by opening settings and selecting “Display” options. Drag the text slider rightward until words feel comfortable to read—most devices support extra-large fonts without breaking app layouts.
Enlarge icon display to make app shortcuts easier to tap. Many Android models let you adjust grid density under “Home Screen” settings. iPhones achieve similar results through Display Zoom in the Accessibility menu. Pair larger icons with bold labels for instant recognition.
Combine these changes with high-contrast themes for maximum clarity. Warm color filters reduce eye strain during evening browsing. Test different combinations—what works for reading messages might differ from web browsing needs.
Remember to check third-party apps. Some require separate font size adjustments in their own settings. Bookmark these menus for quick access later. Your device becomes truly yours when every detail aligns with how you see the world.